It is Friday again and time for me to share another project with you. But today I don’t have one project, I have 7 using the Driving Fox Bundle. So this is going to be a very picture-heavy post. I was recently chatting with Patricia from Kinda Cute and she mentioned that she is going to reopen her shop. I designed for Patricia back in 2022. We decided that I would create some projects with her new collection to give her examples for her website. And so I got the cutest Driving Fox Bundle in my inbox to create with and I could not stop myself.
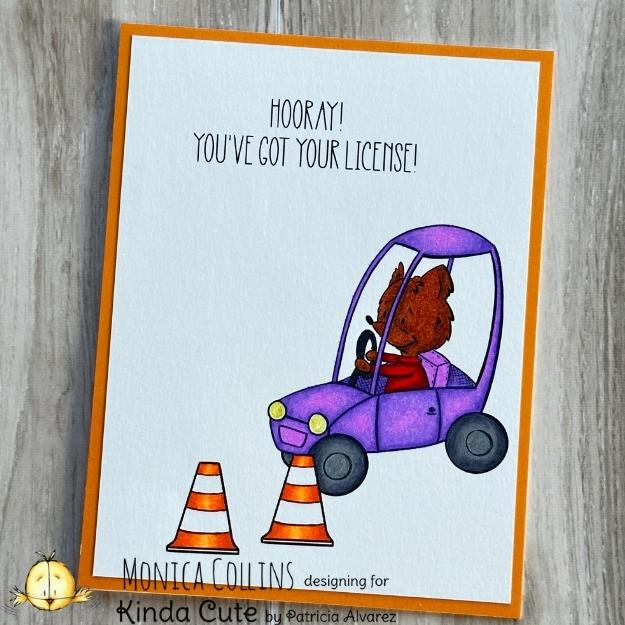
I used various techniques for the different projects that I made, as one can so easily do with digital stamps and images. So this first card uses the digital stamps of the fox in his car, the traffic cones and a sentiment. I printed it out on Canson C’ a Grain paper and colored it with my Prismacolor pencils. I added a little glitter gel pen to the headlights. This simple front then became the card panel that I cut down to 4 x 5.25 inches and then matted onto an orange panel and adhered to an A2 card base.
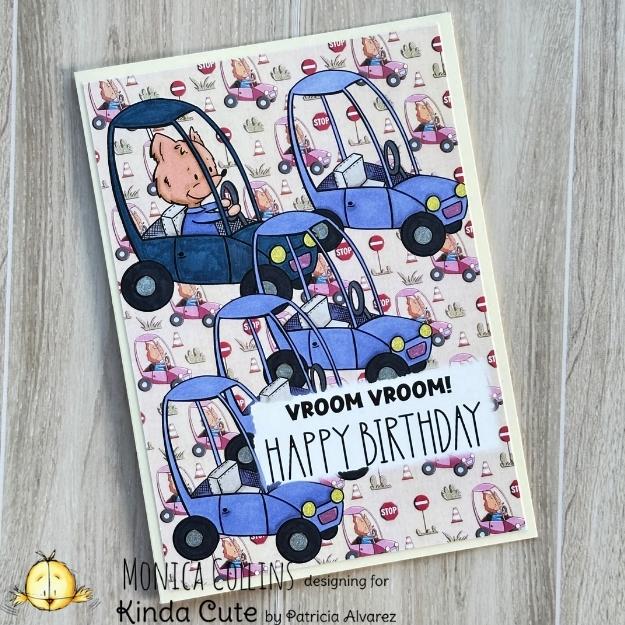
My second card made with the Driving Fox Bundle uses one of the digital papers from the collection for the background and then I added four cars without the fox and one with the fox, as he is arriving at the parking lot. The sentiment is also from the collection. I colored all the cars with alcohol markers and then added the completed card panel to a 5 x 7 card base.
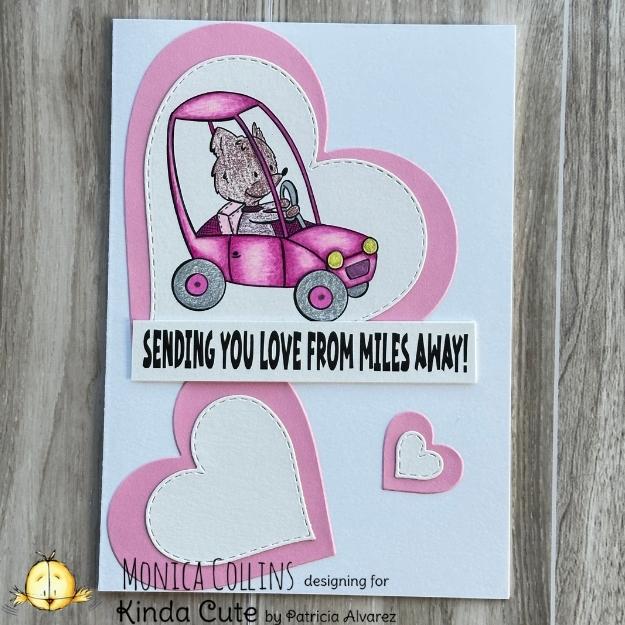
Card number 3 again uses the digital stamp set. I printed the digital stamp and sentiment onto Canson C’ a Grain paper and colored the car with my pencils, using both blending and storybook coloring techniques here. I cut the colored car as well as some blank hearts out with a stitched heart die from my stash. Using the Hero Arts nested die set, I cut layers for each of the white hearts and then arranged them and the sentiment onto the front of a 5 x 7 card base.
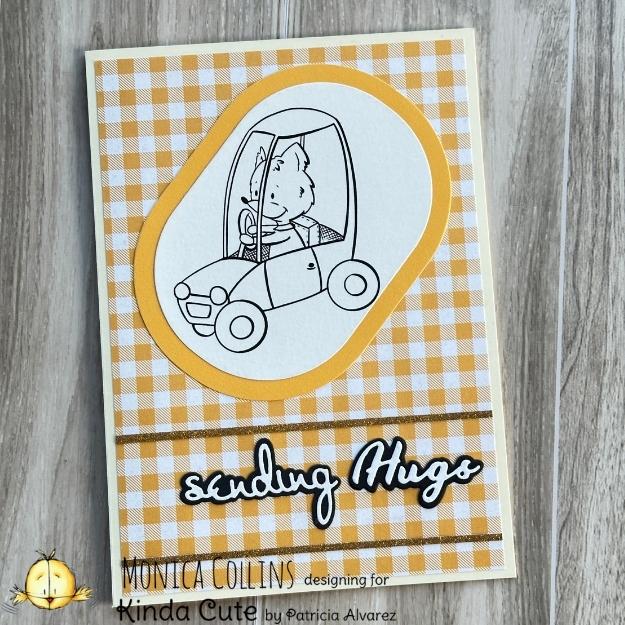
For my next card, I again wanted to show that one can really bring a card together quickly with digital stamps. Using the fox in his car from the Driving Fox Bundle, I printed him out and then cut him out with the Spellbinders Stylish Oval die and also a bigger one of those dies for a mat. Using gingham patterned paper for a card panel, I added the little guy to the top part of the card. I completed the card with two thin strips of glitter cardstock that frame the die-cut sentiment.
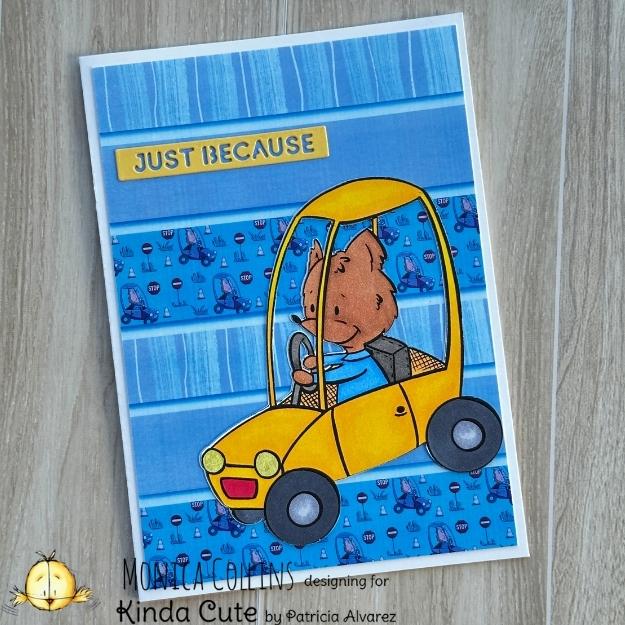
My fifth card incorporates some digital manipulation and electronic die cutting. Using three of the digital papers that come in the Driving Fox Bundle, I created a digital background to mimic paper strips glued together. Using the Hue and Saturation feature in Procreate, I adjusted the colors to show the blue tint you see here. I printed the image out as a card panel and also printed out the fox in his car using the print-and-cut feature on my Silhouette Cameo and then cut him out. I cut a second shape in plain white to place behind him. The little driver and his car are colored with alcohol markers and then adorn the bottom right-hand corner of this 5 x 7 card. I completed the project with a sentiment die to match the car.
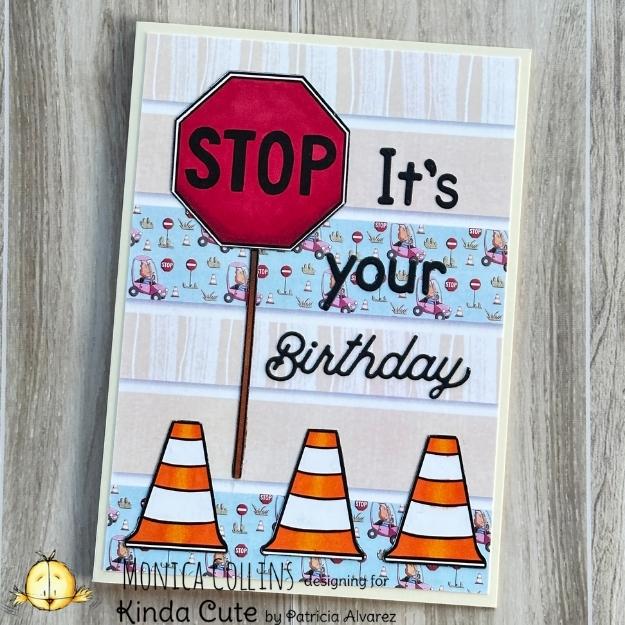
This card uses the same background as the previous card, but in the original colors that the digital papers come in. Also using the Silhouette Cameo, I cut out the stop sign and three traffic cones and colored them with alcohol markers. I arranged the items on the 4.75 x 6.75 card panel before adhering it to a 5 x 7 card base. I completed the card with a die-cut sentiment using two different die sets from my stash.
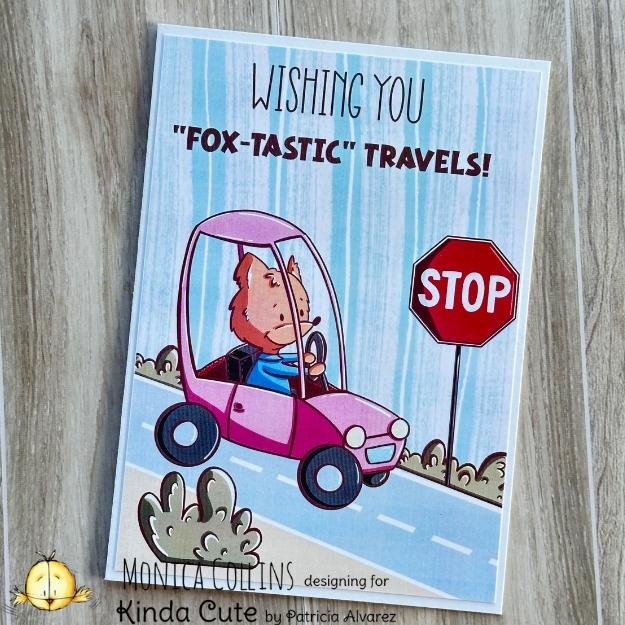
The last card I have to show you is a complete digital composition. Using various pre-colored elements from the Driving Fox Bundle, I created a scene in Procreate on a 4.75 x 6.75 card panel and adhered it to a 5 x 7 card base. This is definitely a quick and easy way to create a card when needed in a pinch.
As you can see from this variety of card options, the Driving Fox Bundle is very versatile and provides a wealth of fun options for cards or other projects using only elements from the bundle or combining them with supplies from your stash. Thank you for visiting with me today. I will see you next week.
Click thumbnail to see the video
Please note that the links below are affiliate links and I will earn a small commission if you choose to use my link, at no cost to you. I previously received the Essential Ovals die set from Spellbinders in order to create with. I purchased all the other products used in these projects myself.
| Project Specific Supplies | ||
Essential Ovals |
Essential Sentiment Strips |
Essential Type |
| Coloring Mediums | ||
Copic Markers |
Prismacolor Pencils |
Black Tombow |
Gel Pans |
||
| Adhesives | ||
Bearly Art Glue |
Scrappy Tape 1/8 |
|
| Papers | ||
Canson C’ a Grain |
||
| Basic Tools & Supplies | ||
Platinum 6 |
Universal Plates |
HBS Reverse Tweezers |
Tool ‘n One |
Scoreboard |
|
In line with new European Data Protection Laws (GDPR) by commenting you know that your name and comment are visible to all who visit this blog and thereby consent to the use of your personal information for this specific purpose.
Many thanks for visiting and commenting on my blog!
Monica
Don’t miss out…
I would love to have you subscribe to my new project posts. You will get one email a week with a link to my new posts.
I don’t spam. Read my Privacy Policy
Related Posts
Mostly red for the July 2026 Christmas [or not] Bingo Challenge
![Creating for the July 2026 Christmas [or not] Bingo Challenge](https://sunshinecreativity.com/wp-content/uploads/2026/06/Jul26CBCDT-80x80.jpg)
We officially start the second half of 2026 today and, with that, there is a new challenge at the Christmas… Read More
Four ideas to make with the new Kinda Cute releases

Happy Friday blogland friends. Today I am back to introduce the new release from Kinda Cute. It is made up… Read More
These are fantastic Monica! All your cards are lovely in their own way. I don’t know what’s my favorite, I love them all! I really like how you created the different looks by tweaking the settings in the software with the digital papers. So much versatility! Thank you so much for creating these beautiful projects. Hugs. Patricia.
These cards are gorgeous. Each one is special in in its own way. Such a variety for different occasions ad times in life. I love how you used different backgrounds, colours, techniques,… Well done. 🙂