Happy Friday and for my US readers, I hope you had a wonderful Thanksgiving yesterday. I was invited to friends for a cookout as that sort of activity is mostly possible for Thanksgiving here in southern Arizona. But today, my post is about Christmas cards as that holiday is not too far away now. I am using the Spellbinders Layered Festive Poinsettias stencils without the press plate that actually provides the detail here. This combo is also designed by Yana Smakula for Spellbinders and I have used her flowers in previous projects.
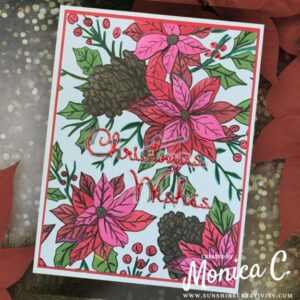
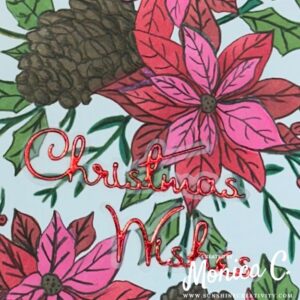
For my first card I stenciled the poinsettias and the leaves in traditional colors on white cardstock. The set consists of 6 stencils that form the different parts of the poinsettias and leaves as well as the pine cone. Once I had completed the stenciling, I added all the details with a black Prismacolor pencil. After adding the panel to a red cardstock matte and then onto a white A2 sized notecard, I completed the card with a red foil die cut sentiment on a vellum shadow. This was cut from a previous die of the month club called Outlined Christmas Sentiments.
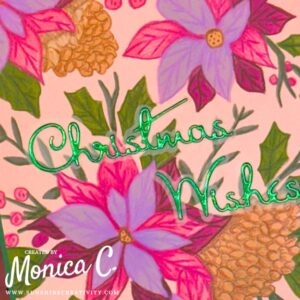
For my second card, I went somewhat non-traditional in my color scheme. I started with a piece of light pink cardstock and stenciled the various layers in shades of pink and purple for the flowers, green for the leaves and light brown for the pine cones. Once this ink was dry, I sat down with a bit of music and added shading and details to the flowers, the leaves and the pine cones in colors that kept the continuity of the inks.
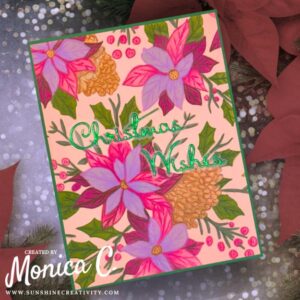
I completed the card by adding the colored panel to a green cardpanel before adhering it all to an A2 sized notecard. I used the same die set again to cut the sentiment from green foil cardstock and again with a vellum shadow. The vellum mutes the background enough to show off the sentiment without covering it up.
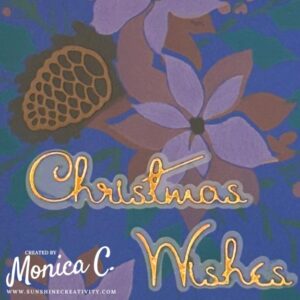
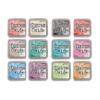
My final card is very abstract and artsy. For this one I used a darker blue piece of cardstock as my base and did the stenciling with Distress Oxide inks as it covers well on dark bases. I did not add any detail to the leaves and the flowers. Using the detail die of the pine cone from the Spellbinders Christmas Blooms die set, I cut it out of a lighter shade of brown and added it to the stenciled pine cone shape for definition. Using a craft knife, I cut the line on the edges of the poinsettia in the right hand corner to slip the pine cone die cut behind the petals so that it would be dimensional accurate as the illustration shows.
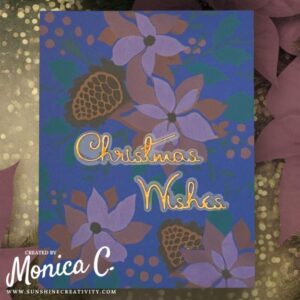
I added this panel to an A2 notecard and using the same sentiment die set again, I cut the sentiment from copper foil cardstock before adding it to the vellum shadow and to my card. This artsy card is a quick make compared to the others and I think it has its own charm. With Distress Oxide inks on a dark background, one could make a number of different variations here without spending a lot of time on each card. A simple pine cone die adds the needed detail to make this work.
Here are three ways in which the Spellbinders Layered Festive Poinsettias stencils can be used without the press plate. This definitely broadens the scope of the combo to create many different kinds of beautiful backgrounds. See you next time!
Please note that the links below are affiliate links and I will earn a small commission if you choose to use my link, at no cost to you. I received the Layered Festive Poinsettias stencil set from Spellbinders in order to create with. I purchased all the other products used in these projects myself.
| Project Specific Supplies | ||
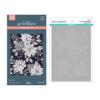 Festive Poinsettias BetterPress and Stencil Bundle |
 Christmas Blooms |
|
| Coloring Mediums | ||
 Prismacolor Pencils |
 Distress Oxide Inks |
|
| Basic Tools & Supplies | ||
 Platinum Scout |
 Platinum Scout Plates |
 HBS Reverse Tweezers |
 Tool ‘n One |
 Bearly Art Glue |
 Scrappy Tape 1/8 |
In line with new European Data Protection Laws (GDPR) by commenting you know that your name and comment are visible to all who visit this blog and thereby consent to the use of your personal information for this specific purpose.
Many thanks for visiting and commenting on my blog!
Monica


Lovley cards. The details and shading on the pointsettias are beautiful. So well done. The cards set a nice atmosphere for the Christmas time. Was enjoyable again to see what you created.