It is the first of March and time for a new challenge at the Christmas [or not] BINGO Challenge blog. As always, our theme is Anything Goes and now for any occasion. Your project must use at least three items from any column. I chose the letter I – Sentiment Main Focus, Aperture (Any Shaped Opening), Foiling, Make Own Background.
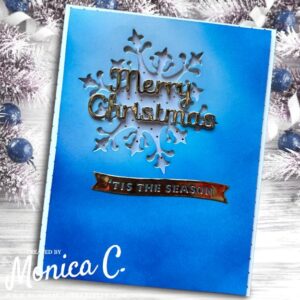
The supplies I used in this project include a white top-folding A2 notecard, a cardpanel of patterned paper from my stash cut to 4.25×5.5 inches, a white cardstock panel cut to 4×5.25 inches, scrap cardstock for dimension, a snowflake die from my stash, the Spellbinders Happy Occasion Words die set, the Spellbinders Make It Merry Sentiments die set, Scrappy Tape and foam tape. All supplies that I can find and also the tools used are linked in the visual supply list below.
How did I make it?:
The first thing I did was determine where I wanted my aperture. As I did not want it centered, but rather offset, I opted for the top left-hand corner and placed the snowflake die there. Then I ran it through my Spellbinders Platinum 6 die cutting machine. Furthermore, I then cut out the snowflake shape another 3 times out of pieces of scrap cardstock.
Inking the Background:
Color is so inspiring and adding ink to paper and watching it blend is no different. Using a blending brush, I added Memento Summer Sky ink around the snowflake aperture. I then used Memento Bahama Blue ink a bit further out followed by Memento Danube Blue ink and finally Memento Paris Dusk ink as the darkest color in the corners. The inks blend beautifully and dry back to a smooth finish. I recently showed this in the cards with all the daisies.
Adding Sentiments:
Using the Spellbinders Happy Occasion Words die set, I cut out the words “Merry Christmas” from gold foil cardstock and twice more from white cardstock. For the word “Merry” I cut three additional “er” letters and for the word “Christmas” I cut three additional “st” letters. I glued the gold on top of the white words for dimension. I also glued the additional letters in their places on the words. This resulted in the words being stabilized as I want them to span the aperture. Furthermore, with the Spellbinders Make it Merry Sentiments die set, I then cut out the phrase “‘Tis the Season,” also from gold foil cardstock.

Assembling the card:
Using Scrappy Tape, I adhered the patterned paper to the front of the cardbase. I positioned the additional snowflakes apertures that I had cut out of the scrap cardstock behind the one on the ink blended panel and glued them in place. My liquid glue of choice is Bearly Arts Precision Craft Glue. Using foam tape to pop up the whole ink blended panel and liquid glue on the edge of the snowflake window, I placed the ink blended panel on top of the patterned paper. The subtle foiled dots on the patterned paper peek through the snowflake shape.
Final Flourishes:
To complete the card, I added the “Merry Christmas” die cut sentiment in two lines across the aperture. This was the reason for the additional letters in the middle of the words as that fills in the height that the dimension behind the ink blended panel brings to the card. This way the sentiment words will not collapse into the window. I added the sub-sentiment by gluing it in place with liquid glue. This completed this card.
Our challenge:
We would love for you to share your projects with us at the Christmas [or not] BINGO Challenge blog. You have six weeks to enter and remember, it no longer has to be a Christmas card. It can be for any occasion as long as you follow the BINGO rules.
Please note that the product links used in this blog post are affiliate links and I will earn a small commission if you choose to use my link, at no cost to you. I purchased all these products myself.
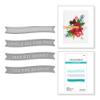 Make it Merry Make it MerrySentiments |
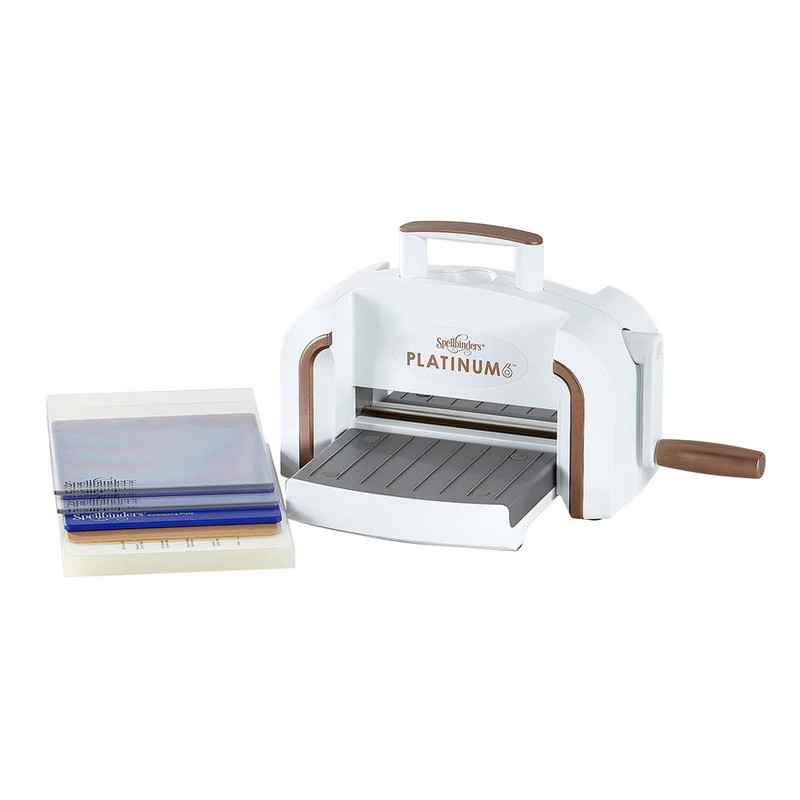 Platinum 6 |
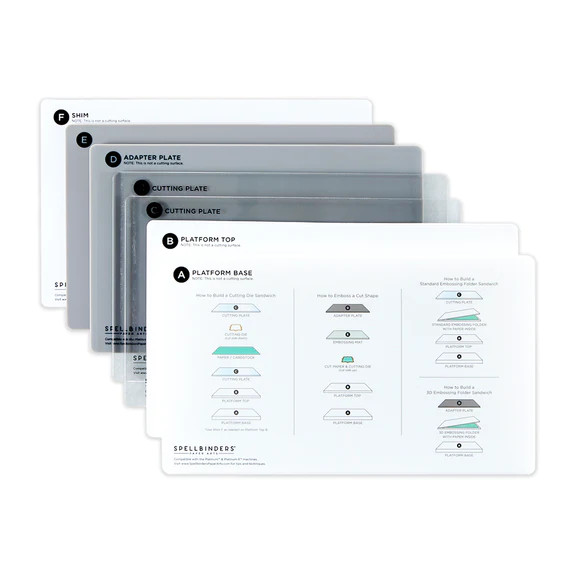 Universal Plates |
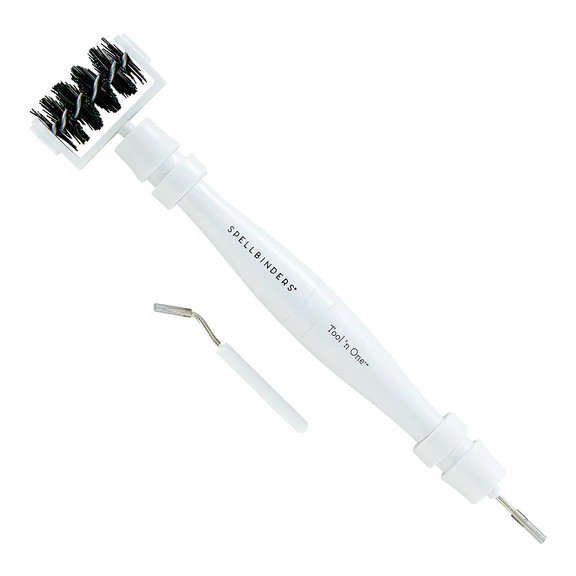 Tool ‘n One |
 Craft Tweezers |
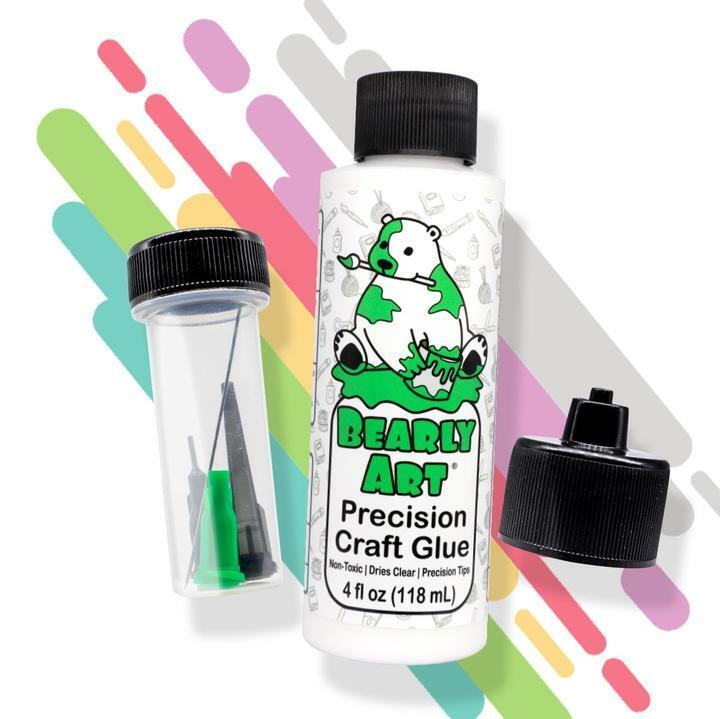 Bearly Art Glue |
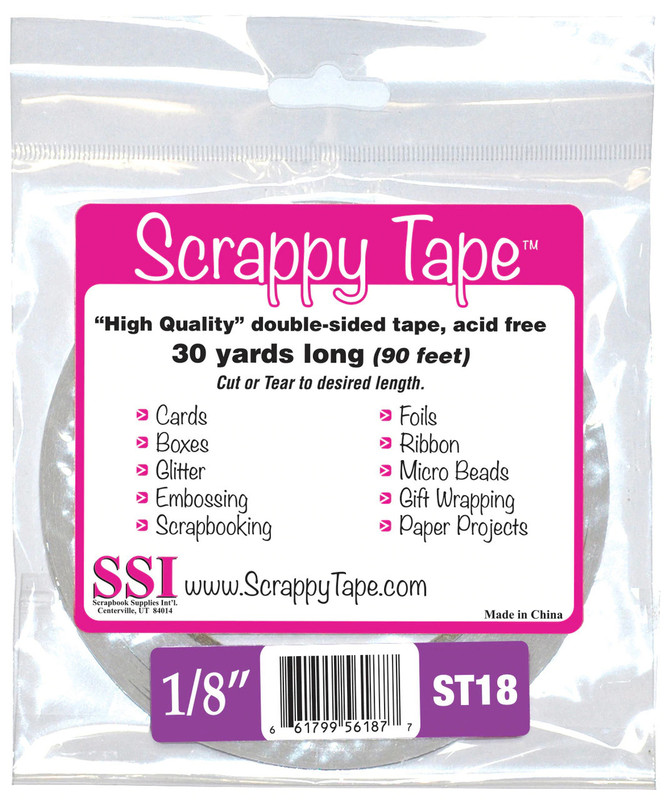 Scrappy Tape 1/8 | |
In line with new European Data Protection Laws (GDPR) by commenting you know that your name and comment are visible to all who visit this blog and thereby consent to the use of your personal information for this specific purpose.
Many thanks for visiting and commenting on my blog!
Monica
This looks stunning. I love the blue. So many steps, so intricate. So well put together. Gorgeous!