Have you heard about Waffle Flower’s Sneak Peek club? It is a fun subscription club in which you get a few products from the next month’s release the month before. I signed up in January 2023, when they started it and am still enjoying it. Here, I’m showcasing 5 cards made with the January 2024 club kit.
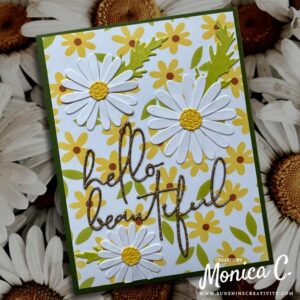
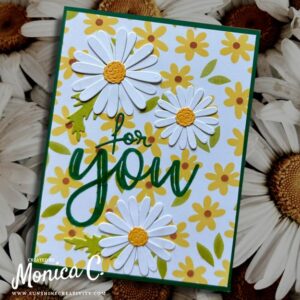
The kit is all about daisies. There is a two layered stencil for a whole background of an A2 card. For my first two cards, I opted for traditional colors. Using white cardstock, I stenciled 2 panels with yellow ink for the flowers and brown ink for the centers and green for the leaves using the Waffle Flower Daisy Background Stencil from the January kit. I used my Memento dye inks today as I was crafting on the go and those little ink pads shaped like dew drops are perfect to pack up.
Staying with traditional colors
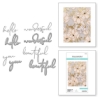
Using the Waffle Flower Layered Daisies die set, I cut the daisies out of white cardstock. I colored some of the white cardstock with yellow ink and some with green ink to get a perfect match with my stenciled flowers. For one card, I used the stamp set that was also in the kit, namely the Waffle Flower You n Me Stampset to stamp the word “you” with green ink. Using the Spellbinders Thanks Enclosed die set, I cut the word “for”. For the other card I used the Spellbinders Wonderful Script Sentiments die set and cut the words “hello beautiful” to make up the sentiment.
The next cards all use shimmer paper for the daisies. I recently purchased a postcard sized pad of different colors of shimmer paper and now was the perfect time to try them out. They cut beautifully and while not visible on the photos, they have a subtle mother-of-pearl look to them in real life.
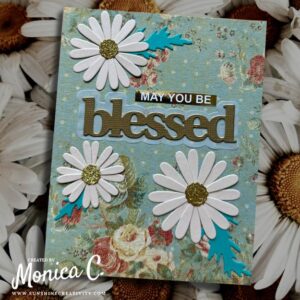
A background with patterned paper
I created one card with cream colored daisies and added them to a patterned paper from my stash that I cut down to an A2 size. The centers are cut from gold glitter cardstock. Using the Waffle Flower Blessed Print die, I cut the word from gold textured cardstock and the shadow from vellum. This helps to mute the patterned paper a bit around the sentiment. The sub-sentiment was printed on my laser printer and then foiled with gold toner foil with my Minc machine.
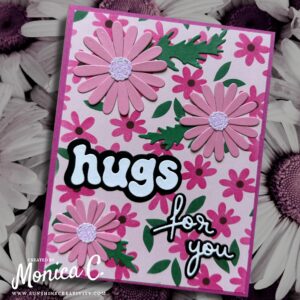
A move to vibrant colors
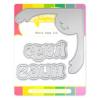
I created two more cards, incorporating vibrant colors. The first one has pink daisies stenciled on the background. The die cut daisies are pink shimmer cardstock from the same pad mentioned earlier and the centers are pink glitter cardstock. The leaves are cut from inked white cardstock to match the leaves from the background. The sentiment is a combination of die cuts made using the Waffle Flower Retro Hugs die set and the Spellbinders Thanks Enclosed die set.
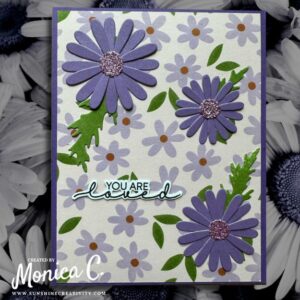
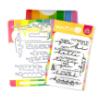
My final card is very similar to the last one, this one is crafted in shades of purple. I love both purple and pink and so that I didn’t have to decide which color to make, I did both. The daisies are also cut from shimmer paper with glitter cardstock centers. I used the Waffle Flower Fluttering By combo stamp and die set to stamp and cut out the sentiment. I cut two more white sentiment shapes and glued them behind the stamped one for some additional dimension.
And so, thank you for visiting me today for a long post and lots of cards. I have a visual list below with all the supplies I used in case you wish to check any of them out. See you next week again.
Please note that the product links used in this blog post are affiliate links and I will earn a small commission if you choose to use my link, at no cost to you. I purchased all these products myself.
In line with new European Data Protection Laws (GDPR) by commenting you know that your name and comment are visible to all who visit this blog and thereby consent to the use of your personal information for this specific purpose.
Many thanks for visiting and commenting on my blog!
Monica
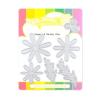 Layered Daisy
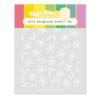 Daisy Background
 Blessed Print
 Fluttering By


Lovely ideas again. Really liked the second one with the patterned paper. Keep going with these nice ideas.