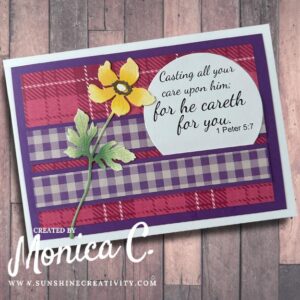
It is time for me to show you the July 2024 Sheetload of cards. I have been doing monthly posts on the Sheetload of Cards. This month the cards are 5×7 in size. I made some small adaptations to the original sketch by putting the sentiment on the right hand side, adding a die cut focal image and adding a matte to the cardbase. Because I was adding a focal image I did not want to use papers that were too busy.
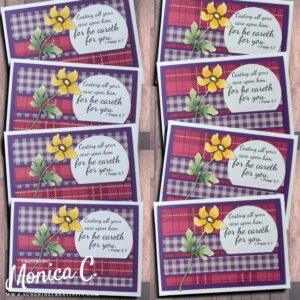
I cut all the papers as per the sketch. The sentiment is a Scripture that I printed out on my printer and then cut out with a 3 inch circle die. In order to get a straight edge at the bottom, I cut it down to 2 1/2 inches on my trimmer
The next step was to add tape to the back of all the pieces. I use 1/8 inch Scrappy tape as I am a fan of tape on the side edges of papers. I find that the 1/8 inch tape is the most versatile. Once all the patterned paper was on the card, it was time to add the sentiment circle which I added it to the right side of the card instead of the left side as shown in the sketch.
Doing the inking of the flower
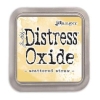
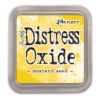
The flower on my cards is from the Honey Bee Stamps Lovely Layers Wildflower die set. I thought it was perfect for this card as it is bold enough to make a statement but dainty enough to not take over. Working on the Waffle Flower grip mat, which holds both the paper die cut, and the ink pad while doing ink blending, I used Scattered Straw and Mustard Seed Oxide inks as my two yellow colors and blended them on with a small ink blending brush.
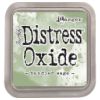
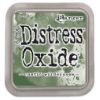
For the greenery I used Bundled Sage and Rustic Wilderness as my two green colors. I like this green combo for foliage, especially when I’m looking for leaves that are not too bright. I colored the very center of the flower with Ground Espresso Oxide ink.
Once all the pieces were inked, I assembled them with liquid glue. I then positioned the flower on the card to the left of the sentiment, slightly overlapping the circle.
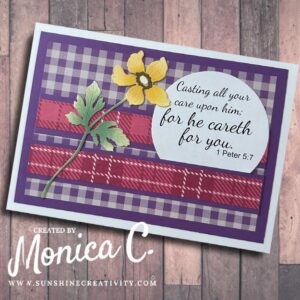
This month the sheet load makes eight 5 x 7 cards. As always, half the cards are the reverse of the other half with regards the patterned paper. I gave these cards to a friend who enjoys mailing out encouragement to people she knows that are going through a hard time.
Thank you for visiting with me again. All the supplies I used are listed in the visual supply list below. You can also watch the video below to see my process. See you next time.
Please note that the product links used in this blog post are affiliate links and I will earn a small commission if you choose to use my link, at no cost to you. I purchased all these products myself.
| Project Specific Supplies | ||
 Lovely Layers Wildflowers |
||
| Coloring Mediums | ||
 Scattered Straw |
 Mustard Seed |
 Bundled Sage |
 Rustic Wilderness |
 Ground Espresso |
|
| Basic Tools & Supplies | ||
 Platinum 6 |
 Universal Plates |
 HBS Reverse Tweezers |
 Bearly Art Glue |
 Tool ‘n One |
 Scrappy Tape 1/8 |
 Grip Mat |
 Distress Sprayer |
|
In line with new European Data Protection Laws (GDPR) by commenting you know that your name and comment are visible to all who visit this blog and thereby consent to the use of your personal information for this specific purpose.
Many thanks for visiting and commenting on my blog!
Monica
The cards you made are beautiful. So intricately assembled. I am sure they will be wonderful encouragement to people that are having a rough time.